1. Download the Office Deployment Tool for Click-to-Run here – http://www.microsoft.com/en-us/download/details.aspx?id=36778
2. Run and extract the tool to a folder on your RDS.

3. Edit and configure the configuration XML file as follows: (please see the comments below regarding copying and pasting this to a Notepad program)
Configuration>
Add SourcePath=”\\SERVER\SHARE\” OfficeClientEdition=”32″ >
Product ID=”O365ProPlusRetail”>
Language ID=”en-us” />
/Product>
/Add>
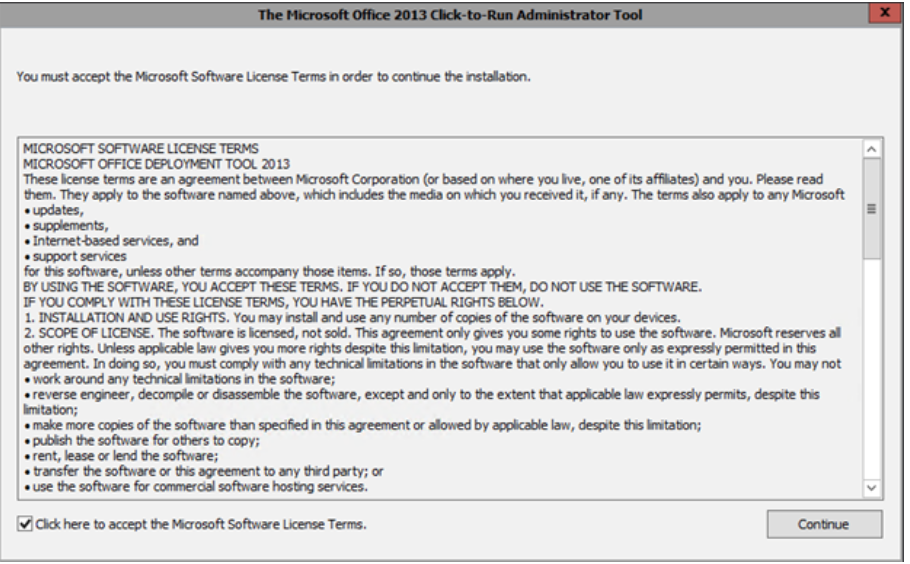
Display Level=”None” AcceptEULA=”True” />
Property Name=”SharedComputerLicensing” Value=”1″ />
/Configuration>
**NOTE: Edit and configure the \\SERVER\SHARE path
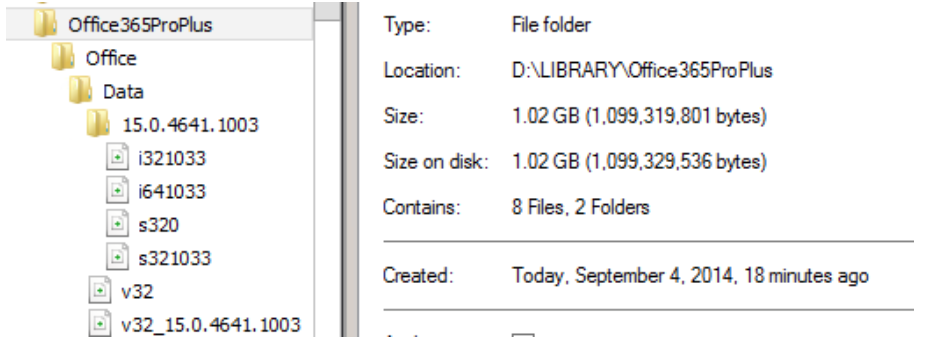
4. From an elevated Command Prompt, run Setup to download the installation files.
Setup.exe /download configuration.xml
***NOTE: Add location paths as needed
The Office365 ProPlus installation files will be downloaded to the specified share with the following structure.
5. From an elevated Command Prompt, run Setup to install Office Click-to-Run.
Setup.exe /configure configuration.xml
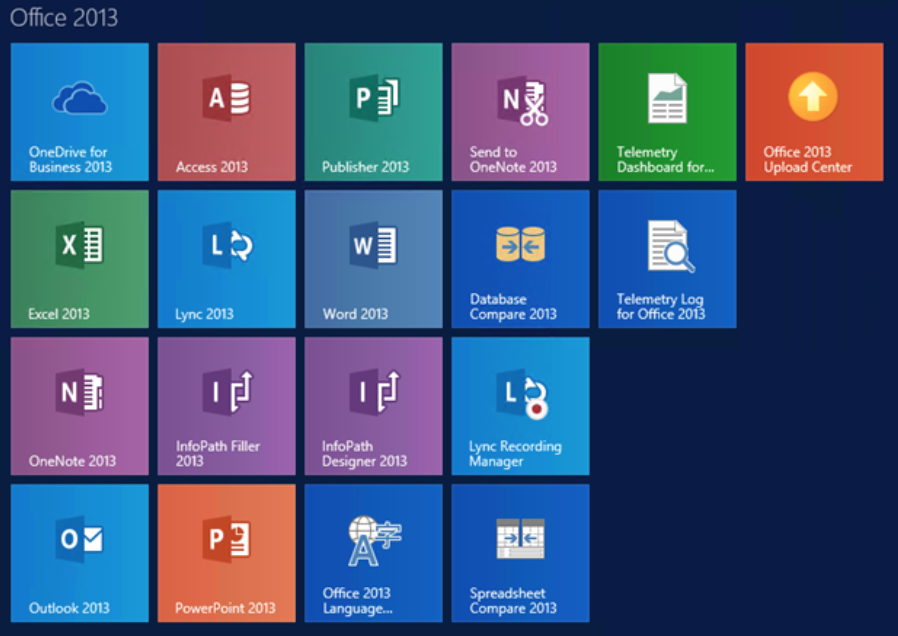
When the installation is complete, the Office 2013 suite will be available for use.
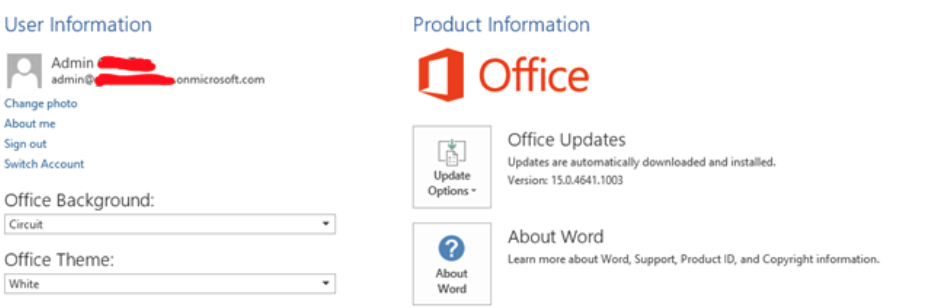
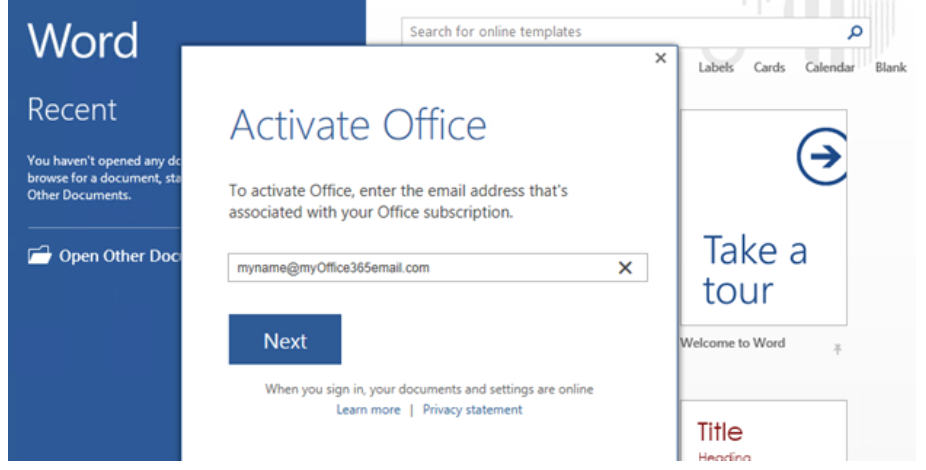
6. On starting the application, you will be prompted to Activate Office. Click Next and Sign in.
7. Once signed in, you are ready to go. Office will automatically activate and configure the applications.